MycoFarm

The Myco-Farm TM is a complete kit for growing gourmet mushrooms at home. It is simple, high-yielding and fun!

The kit is suitable for people who want to cultivate edible fungi from basics using a culture syringe (one King Oyster spawn syringe included per order). It is a simple three-stage process and can yield several hundred grams of mushrooms over 2-6 crops. No air pumps are needed - it is a very quiet and unobstrusive system that can be left on a bookshelf.

It is very useful to have a max/min thermometer so you can check your temperature range. Too cold will usually just slow things down at bit but temperatures over 35 C will kill many species.

Kit contents: Bag with injection port containing growing medium (650g sterile grain) + one King Oyster liquid spawn per order, swab, contaminant-resistant casing layer and humidity tent

N.B. Sterility guaranteed for 14 days post-delivery (if unused). All kits should be used within 14 days (sterile nutrient-rich media is likely to contaminate if left sitting around, no matter how well sealed).

You can buy a MycoFarm here!

Getting a bit chilly? Incubators can be found here


MycoFarm with King Oysters
MycoFarm packed

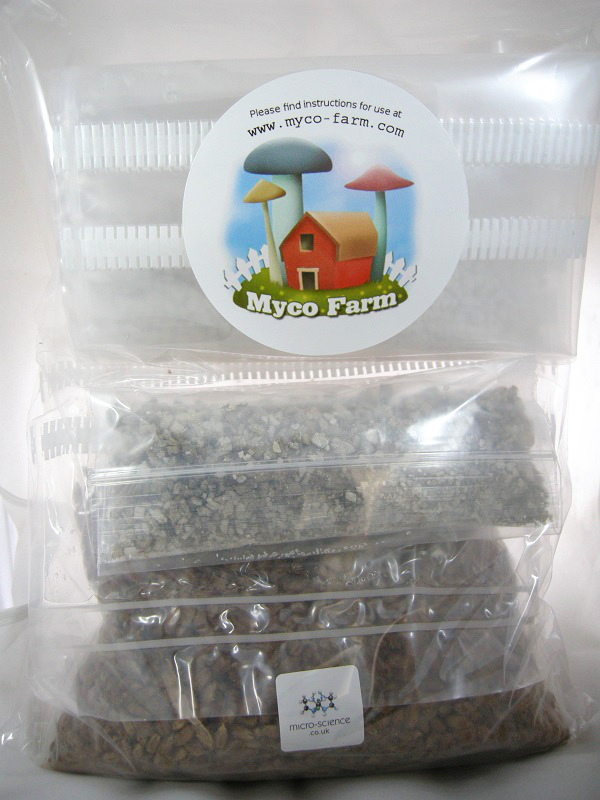
MycoFarm in packaging.

MycoFarm contents

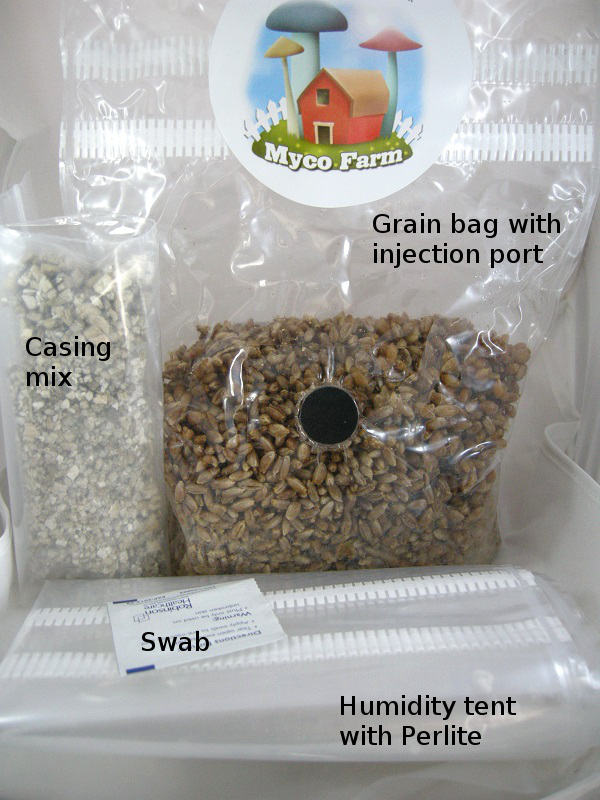
Contents: growing medium (650g of sterile grain) in a custom-made bag with injection site, swab, contaminant-resistant casing and humidity tent. 2.5mL King Oyster spawn per order.

King Oyster syringe

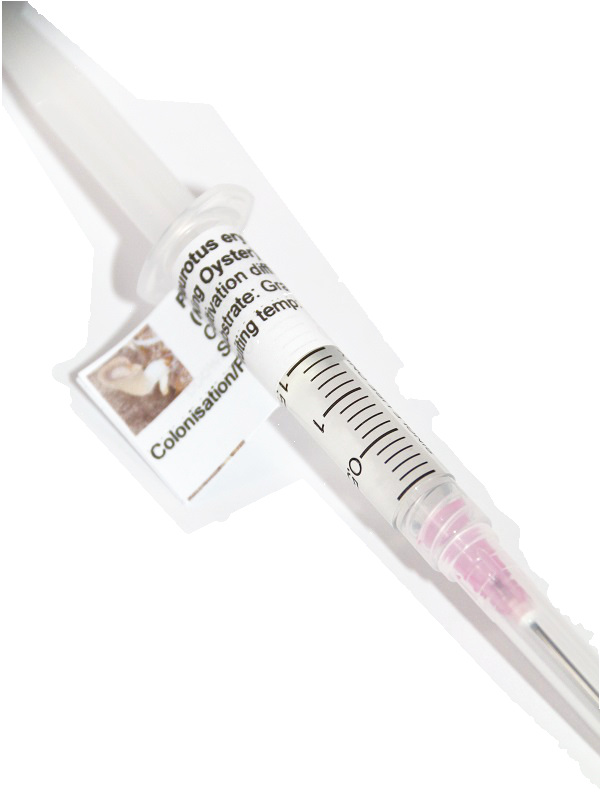
You will need your King Oyster spawn syringe for inoculation. Many other species will also grow well if you have another syringe.

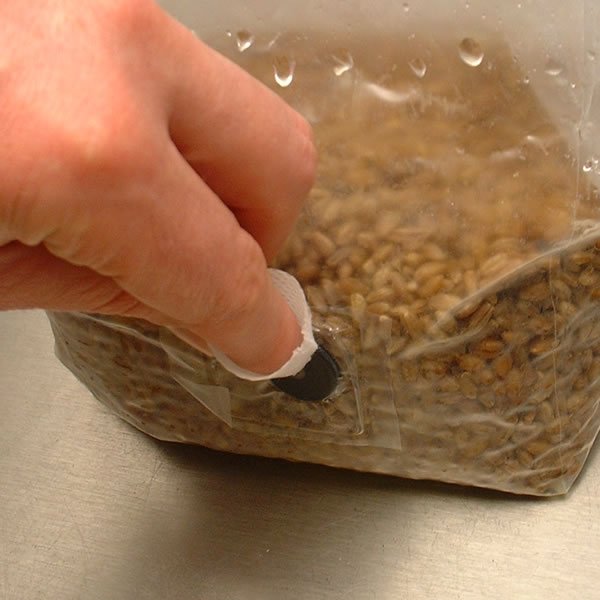
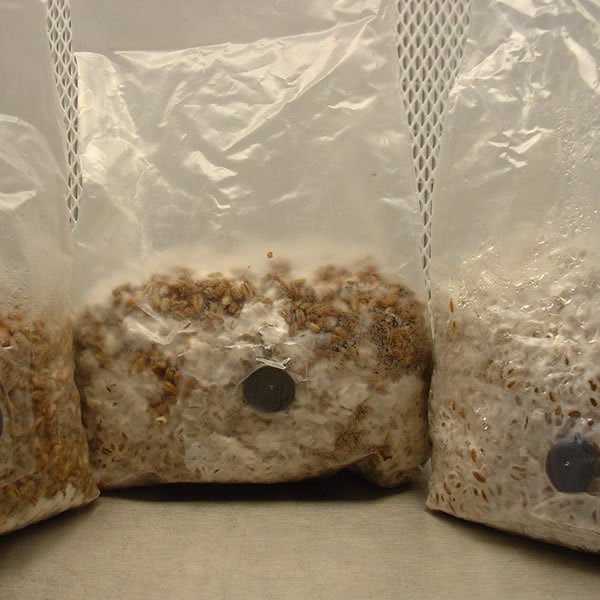
Stage One – Inject and grow

The first stage involves growing the white mushroom mycelium on a bag of sterile grain. We use grain as it is nutritious, easy to mix and allows the mushroom to spread quickly through it. This method is suitable for many different species of mushroom but temperatures will vary depending on the species grown.
Grain bag ready for inoculation
It's a good idea to read the FAQ
 
Wipe black injector site and needle with swab.
 
Injecting bag
Inject approx. 2 - 5 mL of edible mushroom culture. You can store the leftover syringe in the fridge. (N.B. Injecting more liquid won't do any harm but doesn't speed things up either). Stand the plastic up vertically. Incubate at 22-28 C in the dark (we recommend getting an incubator but some airing cupboards work fine). Take great care not to overheat! Use a max/min thermometer if possible.
Bag showing growth
After 10-20 days the white mycelia will begin to grow. Once you can see a few square cm's of white mycelia, you can speed things up by gently mixing the bags contents (Do not open the bag! Gently break up the grain and mix through the plastic with your hands). The mycelia will not be as visible after mixing, but it will regrow vigorously after a few days. It should be fully white (or "colonised") within about 3 weeks at the correct temperature.
MycoFarm colonising
Stages of growth. The bag on the right is fully colonised (i.e. white). When the bag is COMPLETELY white with no patches of bare grain move on to Stage 2. If it is not colonised mix by massaging the bag without opening, check incubation temperature and leave a little longer.

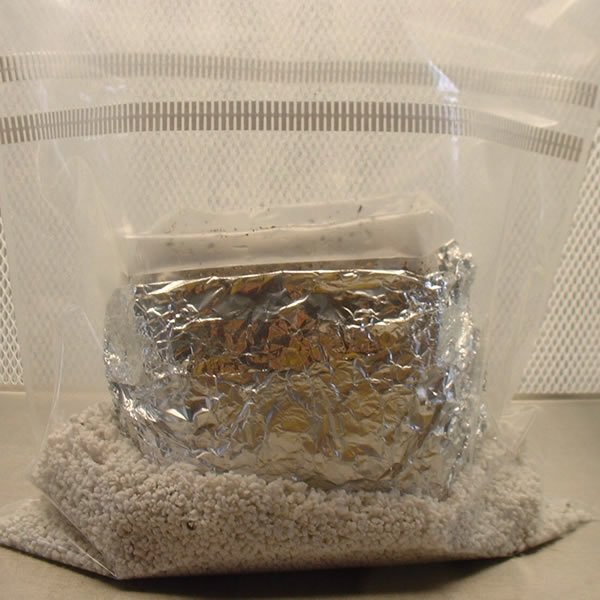
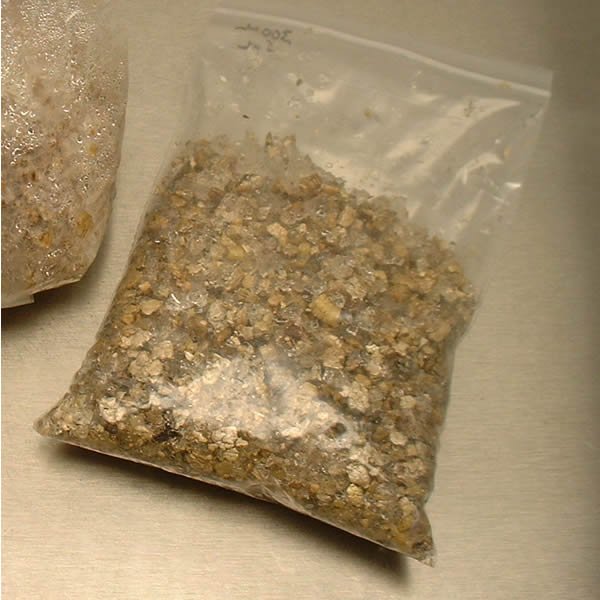
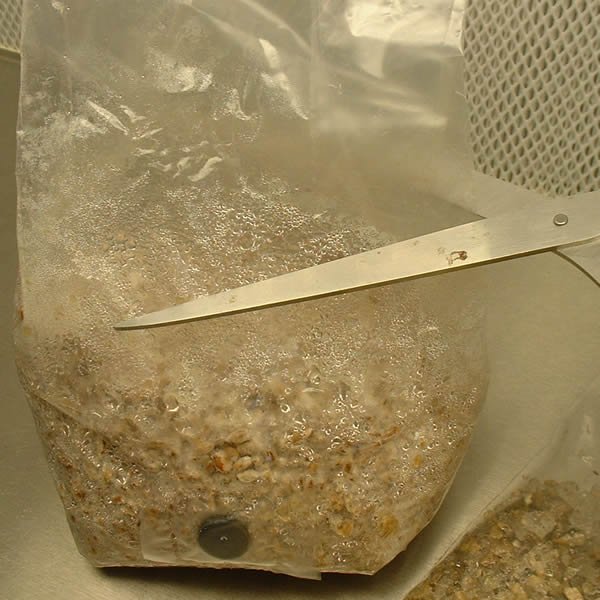
Stage Two – Casing layer

“Casing” is a term used by mushroom growers to describe the addition of a top layer. Although not all mushrooms need this layer, it is worth adding as it greatly increases yields. Casing protects the grain from drying out and also provides a good habitat for baby mushrooms to form and develop. We now use a new type of casing – dry polymer in a bag (which replaces the older “soil” in a tub). The dry polymer requires the addtion of hot water before use (see below).
Casing with mug
Take your bag of dry polymer then simply boil the kettle and add 1/2 of a mug (approx. 150ml)of very hot water to the bag (careful not to burn your fingers).
Casing expanded
Close the bag and stand upright for about 30 minutes until it cools. Shake to mix the expanded contents.
Cut bag
While your casing is cooling take your grain bag from stage 1 (which must be COMPLETELY white - if not leave it longer). Now mix the grain again by gently massaging contents through the bag and allow the grain to settle so the top layer of the grain is quite flat and level. Cut the top off the grain bag about half way up.
Pouring casing
Pour the casing layer on to the top of the grain and shake gently to even out.
Cased bag in foil
Fold over the top of the bag and add a couple of clothes pegs. Then cover the whole thing in foil - you should end up with something like this. Put it back in the incubator at 25-30 C for 3-4 days. This allows the mycelia to re-grow and take over the casing layer. Then go to stage 3

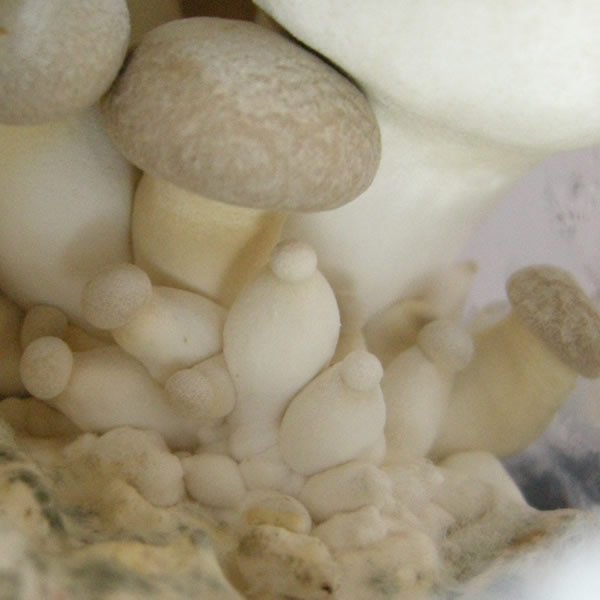
Stage Three – Producing mushrooms

Mushrooms are the fruitbodies of the mycelium – a bit like the apples on an apple tree. To let the mycelium know it is a good time to produce mushrooms we need to give it three signals: light, air exchange and a reduction in temperature. To do this we place the bag from Stage Two at a lower temperature in a humidity tent which allows light and air in.
Casing with growth

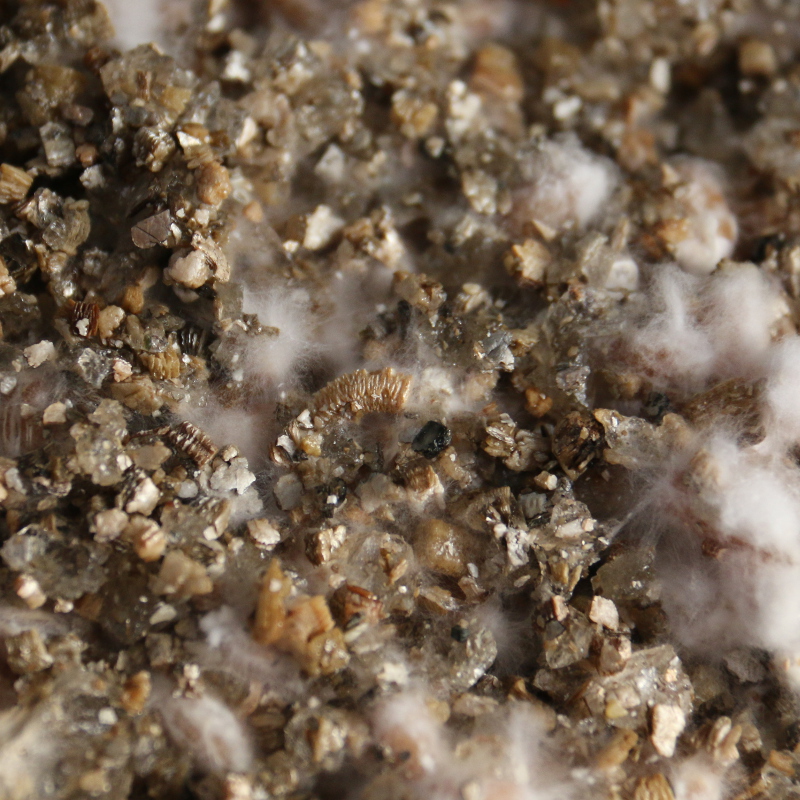
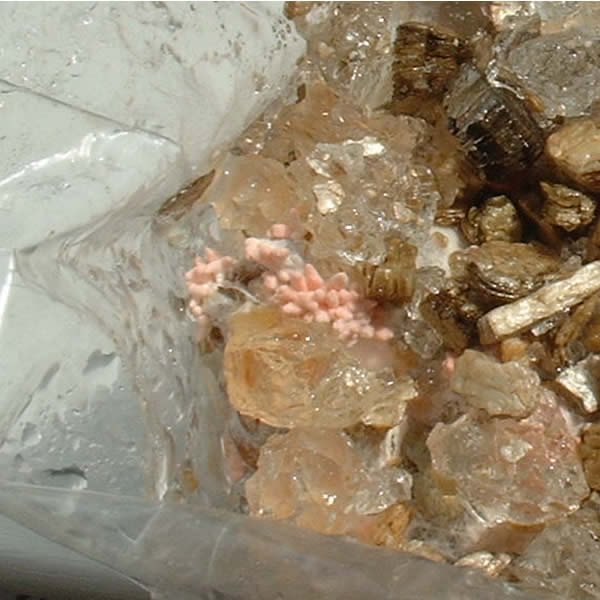
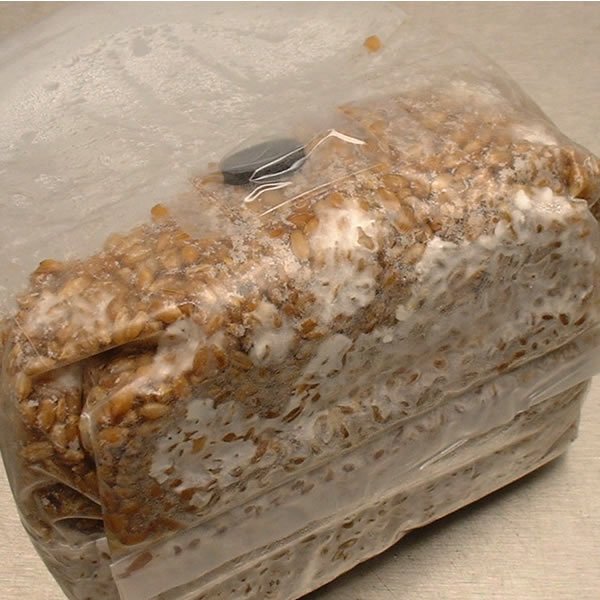
During the last few days, the mycelium will have started breaking through the casing layer. Sometimes this is not very obvious.

Bag in tent
Roll the sides of the grain bag down. Moisten the perlite in the large humidity tent with 1/2 a mug (approx 150mL) of tap water. Place the grain bag inside of the tent on top of the perlite. Peg the top of the humidity tent. Place the whole thing in indirect light at 20-24 C and wait 7-14 days. Near a window works well but not in direct sunlight. You can occasionally open the humidity tent and mist the inside with a hand-sprayer full of clean water if you have one.
After a couple of weeks you should see the formation of baby mushrooms (called "pinheads") on the top of the bag. They are usually white (but here you can see the pink pinheads of Pleurotus djamor growing through polymer casing.
Baby king oyster
The mushrooms usually develop fully in 5-7 days. You can pick them by washing your hands and carefully twisting and lifting. Each crop of mushrooms is called a "flush". Using the Myco-Farm several flushes of 150g+ each are common.
MycoFarm with King Oysters
Once each flush is harvested you will boost future crops by spraying heavily for a few days to replace the lost moisture in the casing layer. Check out some recipes and enjoy! If you don't already have one, you can buy one here