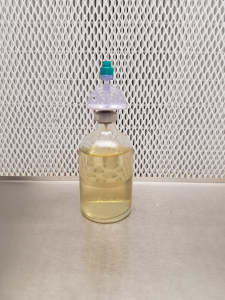
Contents: 100mL nutrient solution, pressure-equalised withrawal port/spike, sterile swabs and syringes.
1) Inject 100mL bottle lid as normal with a culture (i.e. remove centre circle of aluminium, swab and inject – around 3-5mL is usually enough).
2) Shake and incubate. Shake every fews days to encourage lots of small pieces of mycelium.(About 1-3 weeks should be fine depending on temperature, species, etc). If you incubate for too long as you will get a large clump of mycelium).
There is enough oxygen in the bottle for the mycelium to grow for a couple of weeks – for longer growth periods move to the next step and add the withdrawing port/spike for improved air exchange.
3) When you are ready to withdraw you can use the withdrawing port (see photo) and a luer-lock syringe without needle. First, shake hard to break up mycelium, swab lid.
4) Carefully remove the withdrawing port/spike from all packaging (including green plastic sheath covering the spike) and push the spike on the base in through the centre of butyl rubber lid of bottle.
5) If you are ready to withraw mycelium, remove syringe from packaging and attach to top of port by screwing in place. This should also be done as quickly in as sterile conditions as possible.
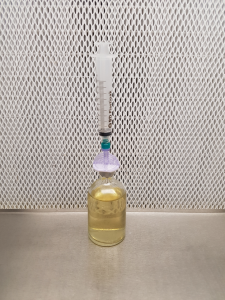
6) Carefully invert the whole assembly and withraw solution to fill syringe. Keep then syringe attached and return to normal upright position. The port allows pressure equalisation and contains a sterile air filter.
7) Remove syringe and attach sterile needle to syringe. Swab port again. Syringe can be stored in a fridge for some time (maybe up to a month).
8) Swab port and repeat.